Google Tag Manager allows you to set up and manage GA4 events all in one place. To send event data from Google Tag Manager to GA4, you need two tags that work together:
Google Analytics: GA4 Configuration
The GA4 Configuration tag ensures data flow from your website to Google Analytics.
Create one configuration tag on every page you want to collect analytics data.
Step 1: Create a GA4 Configuration tag
Start by creating a Google Analytics: GA4 Configuration tag to send data to your analytics property.
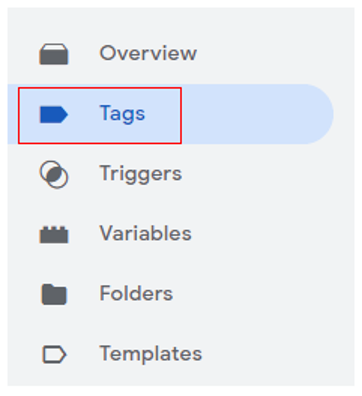
- In Google Tag Manager, click Tags > New.
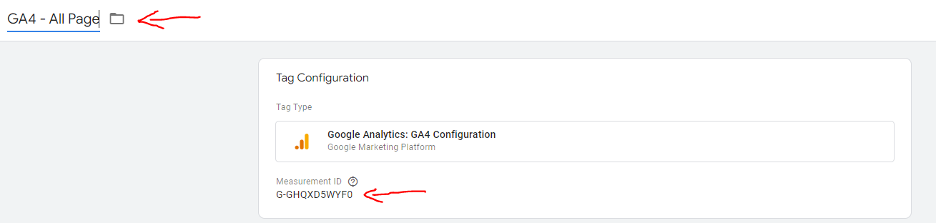
- Enter a name for the tag at the top (e.g., "GA4 Configuration - example.com").
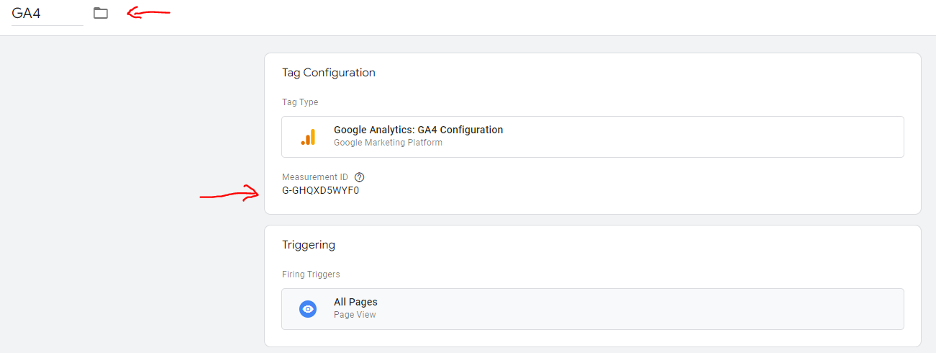
- In the Tag Configuration box, select Google Analytics: GA4 Configuration.
- Configure your tag:
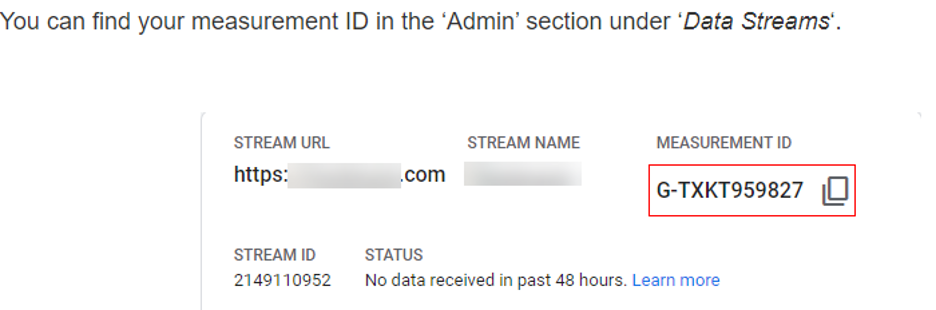
+ In the field Measurement ID, enter your "G-" ID.
+ Keep the Send a page view event with this configuration loads option checked to automatically send page view events.
+ Custom properties: Add any custom user properties that you'd like to configure in User Properties.
Note: Analytics automatically collects some user dimensions so you don't have to define user properties for them. You can set up to 25 additional user properties per Google Analytics 4 property.
Step 2: Create a trigger
Next, set up a trigger to load the Google Analytics: GA4 Configuration when someone loads your website.
- To ensure that the Google Analytics 4 Configuration tag fires before other triggers, click Triggering and use the Initialization - All pages trigger. Learn more about Page triggers.
- Save the tag configuration.
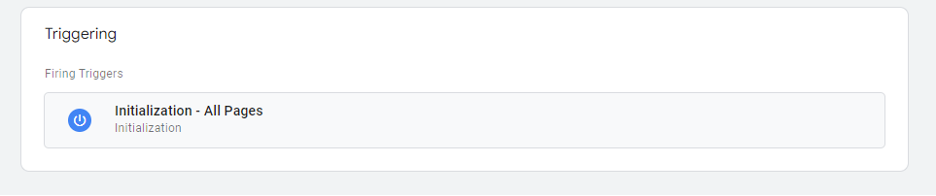
Configuration must match below:
Google Analytics: GA4 Event – Custom Events using GTM
The GA4 Event tag lets you set up events on your website without writing code. The event data shows up in your GA4 reports.
Create as many event tags as you need to measure your recommended or custom events.
To set up an event using Google Tag Manager, you will configure a Google Analytics: GA4 Event tag and then create a trigger that specifies when you want to send the event.
The following steps show you how to send a custom event to a Google Analytics 4 property when a user clicks a button to sign up for your newsletter. The steps show you how to implement the event using Tag Manager and don't require you to implement a data layer object.
Create a GA4 Event tag – Conversion
Step 1
Log into your GTM account and then click on ‘Tags’ in the left-hand side menu:
Step 2
Click on the ‘New’ button to create a new tag:
Step 3
Name your tag ‘GA4 Conversion Event’ and click on ‘tag Configuration’.
An overlay will appear on the right-hand side with a list of tag templates:
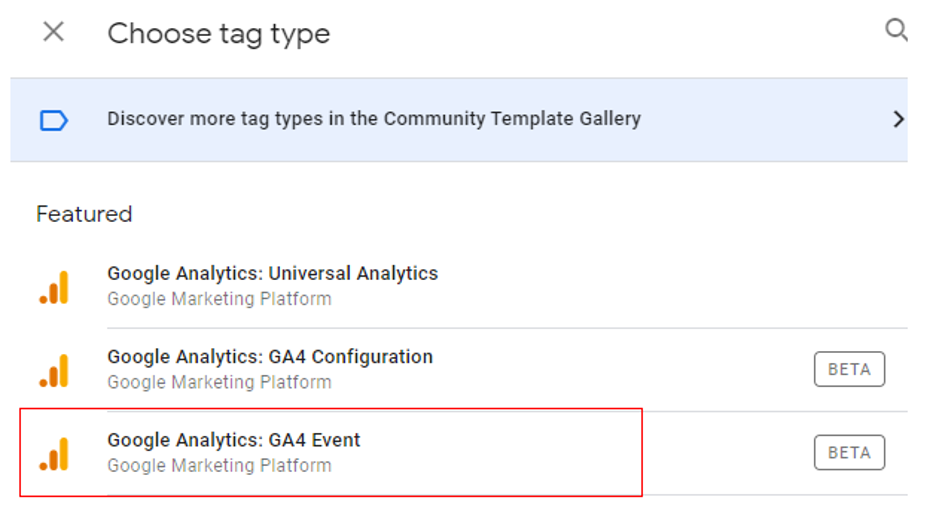
Step 4
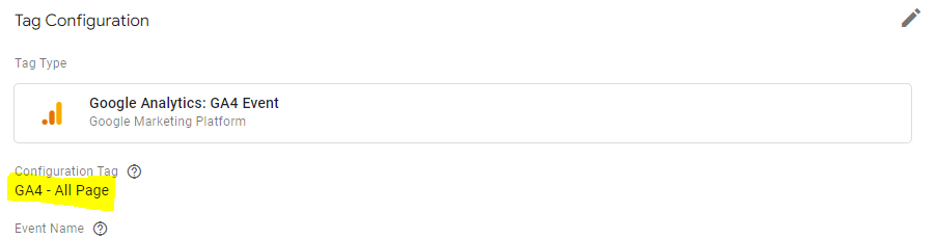
Click on ‘Google Analytics: GA4 Event’.
Step 5
Click on the ‘Select Configuration Tag’ drop-down menu:
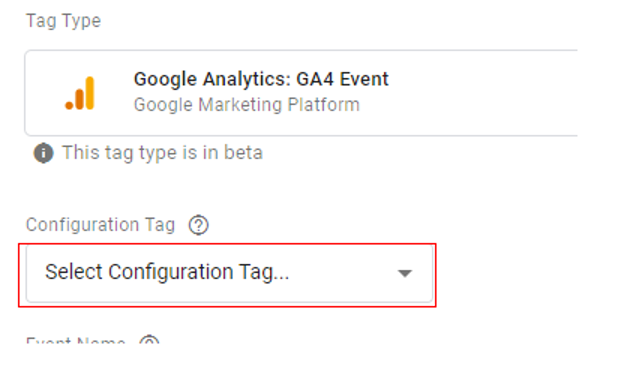
Step 6
If you have set up a configuration tag, then select that tag;
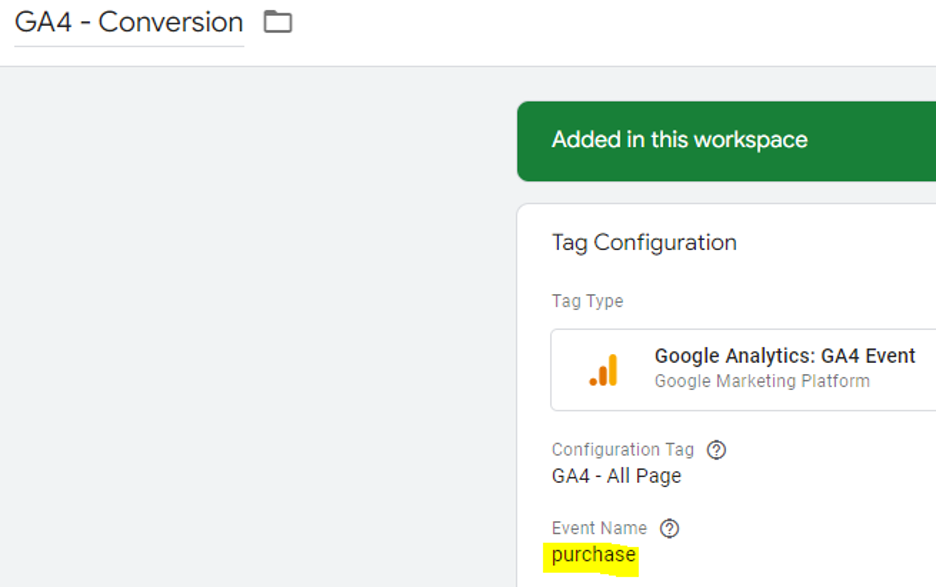
Step 7
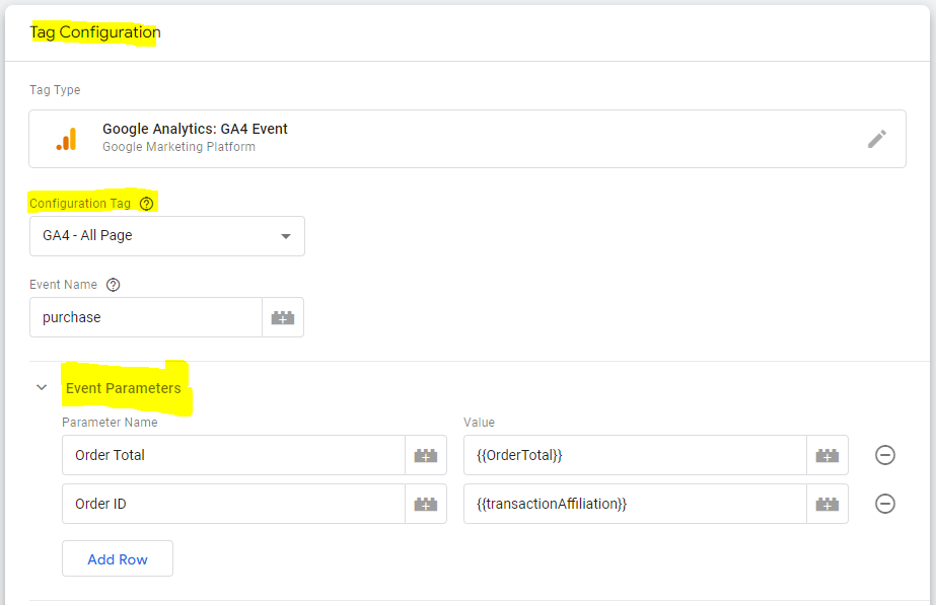
Enter ‘homepage’ / ‘category’ / ‘pdp’ / ‘Addtocart’ / ‘Purchase’ / ‘Button Click’ for button click events
The event name you provided here will appear in your GA4 reports.
Step 8
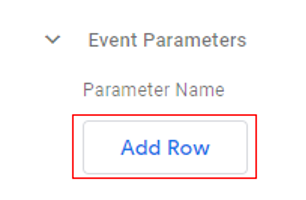
Click on the ‘Event Parameters’ drop-down menu:

Step 9
Click on the ‘Add Row’ button:
You should now see the two new text boxes: ‘Parameter Name’ and ‘value’:
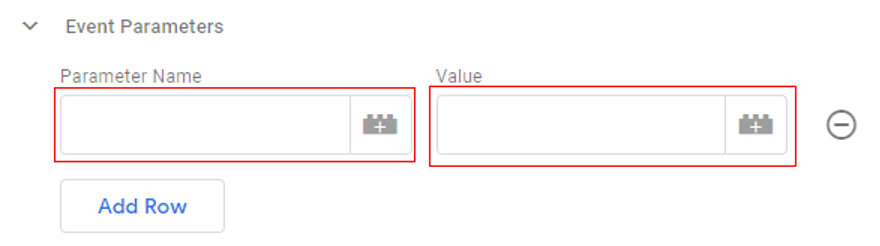
Step 10
Type ’Order_Total’ in the ‘parameter Name’ text box and under ‘value’ text box click on the ‘+’ button to choose a Variable:

Same way add transaction ID (order ID).
Your final setup may look like the one below:
Note: Adding event parameters to the event is Optional.
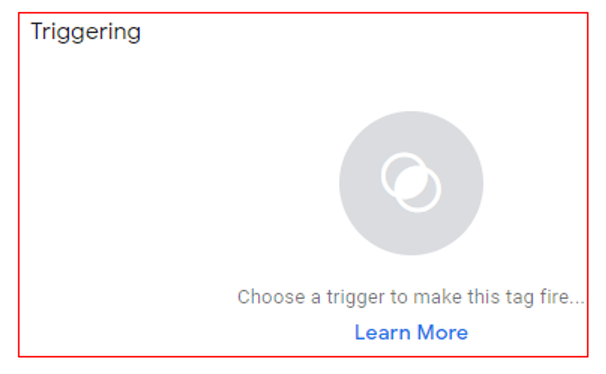
Step 11
Click on the trigger button to create a new trigger:
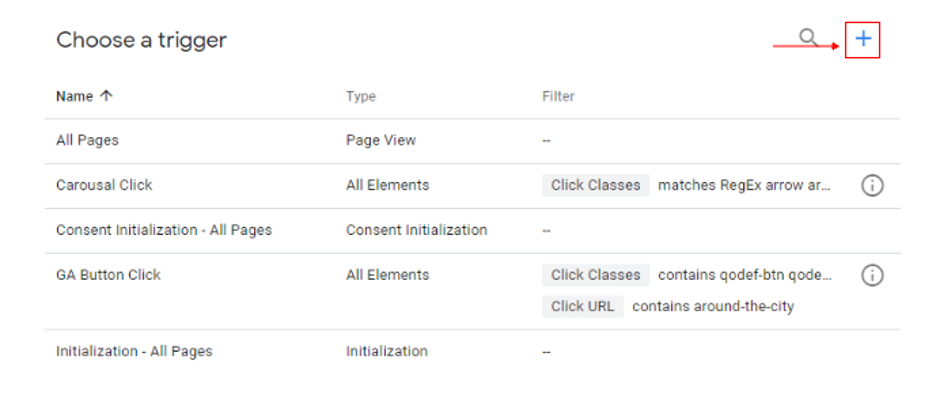
Step 12
Click on the ‘+’ button at the top right-hand side of your screen:
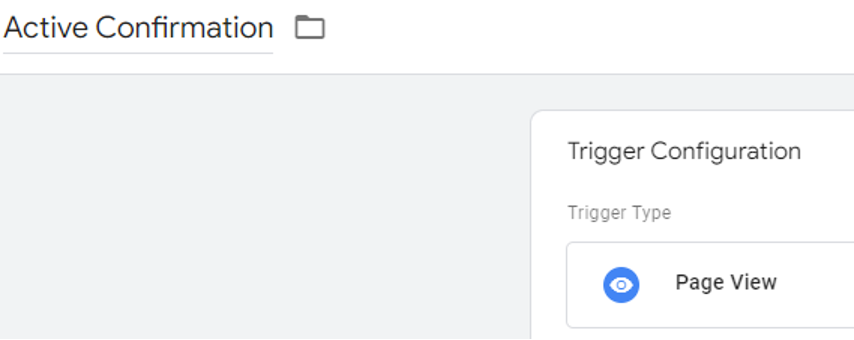
Step 13
Name your trigger ‘Active Confirmation’ and the click on the ‘Choose your trigger type’ button and select ‘Page View’
Click on ‘some clicks’ and set the following trigger condition:

Step 14
Click on the ‘save’ button to save your new trigger.
Your entire tag setup may look like the one below:
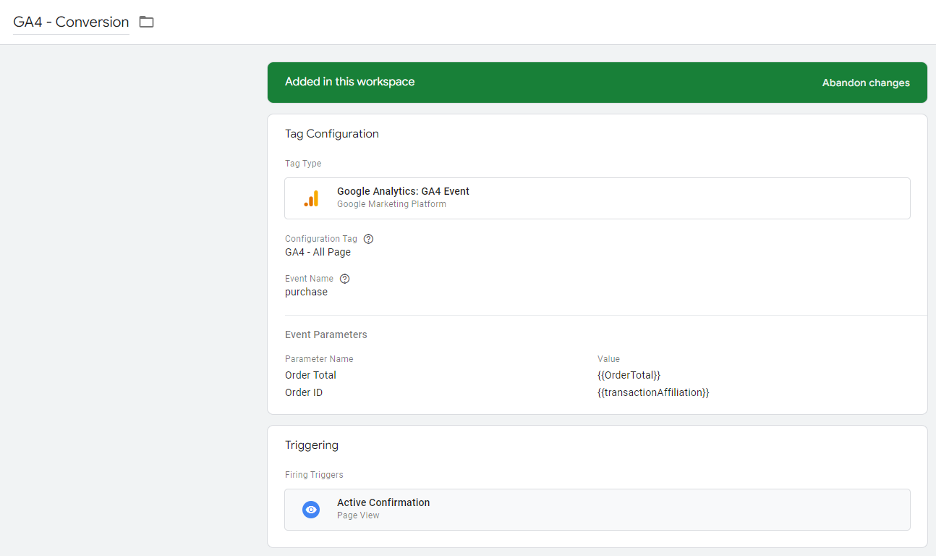
Click on ‘save’ button to save your new tag.
Debugging Custom Events:
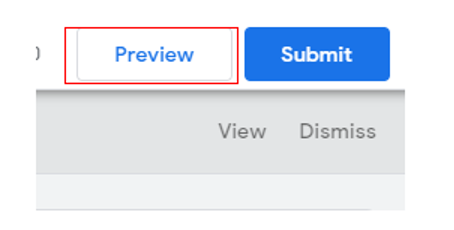
Step 1
Click on the ‘Preview’ button. A new tag will open with GTM preview mode.
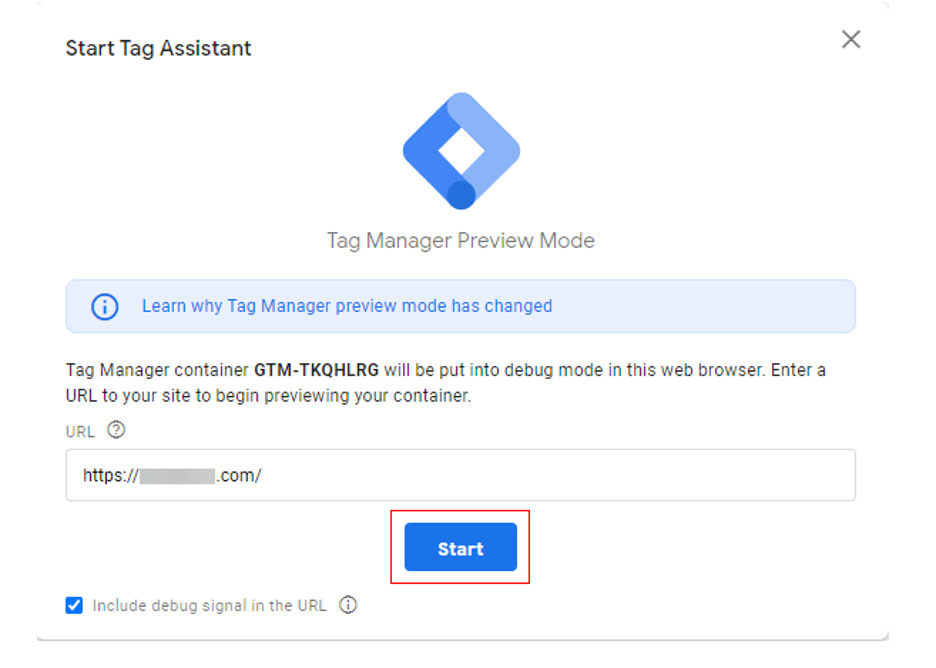
Step 2
Add the URL of the page where the endurance registration starts to track, and then click on the ‘start’ button
Step 3
You will now be automatically redirected to a new tab in your browser window, which shows the web page whose URL you typed.
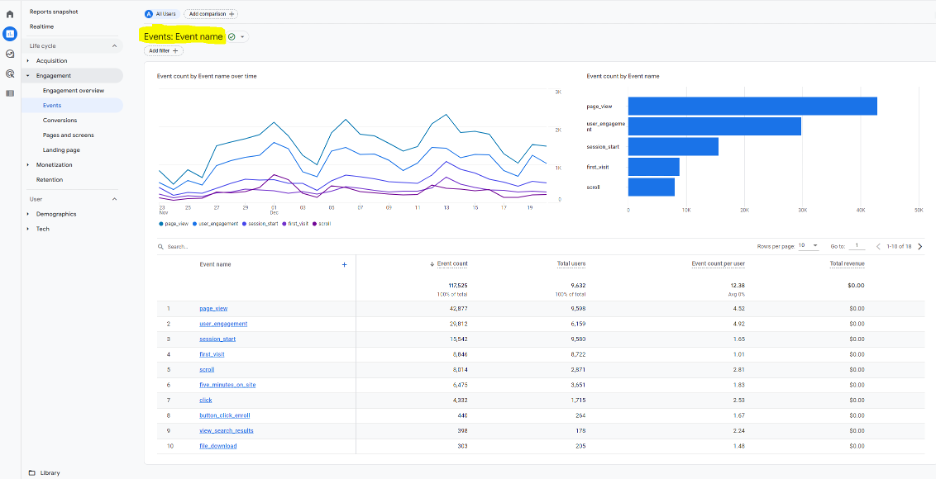
GA4 Realtime report view
Step 1
Navigate to ‘Realtime’ report of your GA4 reporting view:
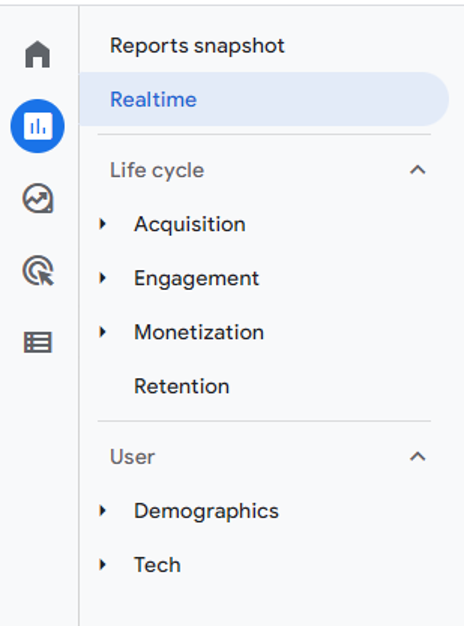
Step 2
You should now be able to see the button click event being reported by GA4.
Set up Complete
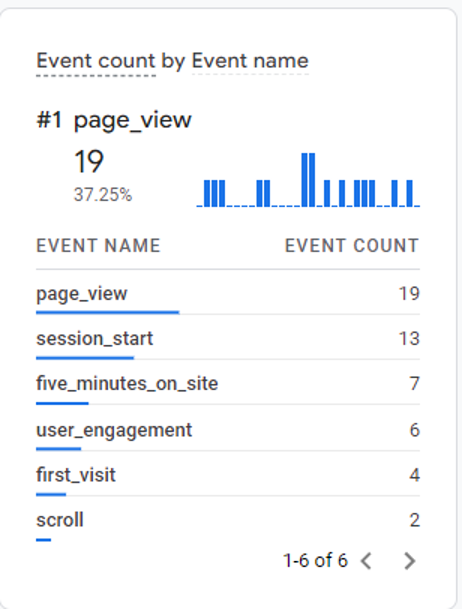
Congratulations, you have successfully set up a custom event for GA4 using Google Tag Manager, After 12-24 hours have elapsed, your custom events should appear in your ‘Events’ report: